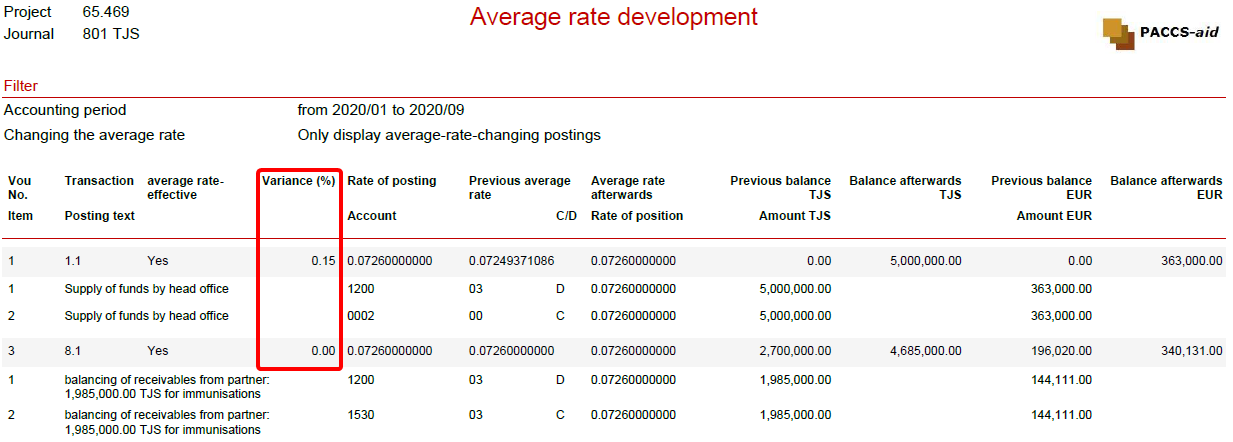
Each closing is accompanied by certain reports that are generated in WINPACCS Accounting and which you should read when you check a closing. If you would like to upload additional documents for a closing, e.g. the account statements of a bank account, use the Upload additional documents function.
PLEASE NOTE: To view the closing reports, you need one of the following user roles: ▪Project finance manager ▪Project accountant ▪Project controller ▪Project financial auditor To set which reports should be included in your organisation's closings, you need the Financial administrator user role. |
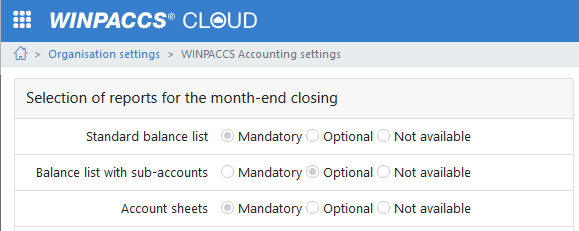
The reports that belong to a closing are generated in WINPACCS Accounting and are uploaded with the data packet. All the reports are generated in the language set as the user language in WINPACCS Accounting by the respective accountant. The reports that are generated for a month-end closing depend on the Organisational settings for WINPACCS Accounting. At
In day-end closings, the Cover sheet, Journal and Standard balance list reports are always included. The uploaded reports document the closing from the Project accounting. Note that you can also create additional reports yourself: ▪The Export function in the The Postings (WINPACCS Accounting 4) functional group allows you to create customised reports based on your own Table settings from the Posting overview. Columns for additional account assignment (funding, budget lines) are also optionally available there. ▪For more detailed reports on Additional account assignment intended for donors, use Analyses in the Project Controlling functional area. |
At  The following reports may be included in month-end closings.
|
In addition to the reports of a closing, you can upload further documents. This function is suitable, for example, for bank statements, cash counting logs for cashboxes, repayment agreements for unsettled items, or receipts for currency exchange and bank charges.
To upload additional documents to a closing, proceed as follows: 1.At Projects > [Your project] > 2.Click there on Upload additional document ( 3.Select the file and enter a comment if necessary. All the uploaded additional documents are displayed in the table with user name and date  As long as the closing has not yet been marked as Verified you can still delete ( To open an additional document, click on it. Depending on the file format, the document opens in the browser or is downloaded. |

